
Description
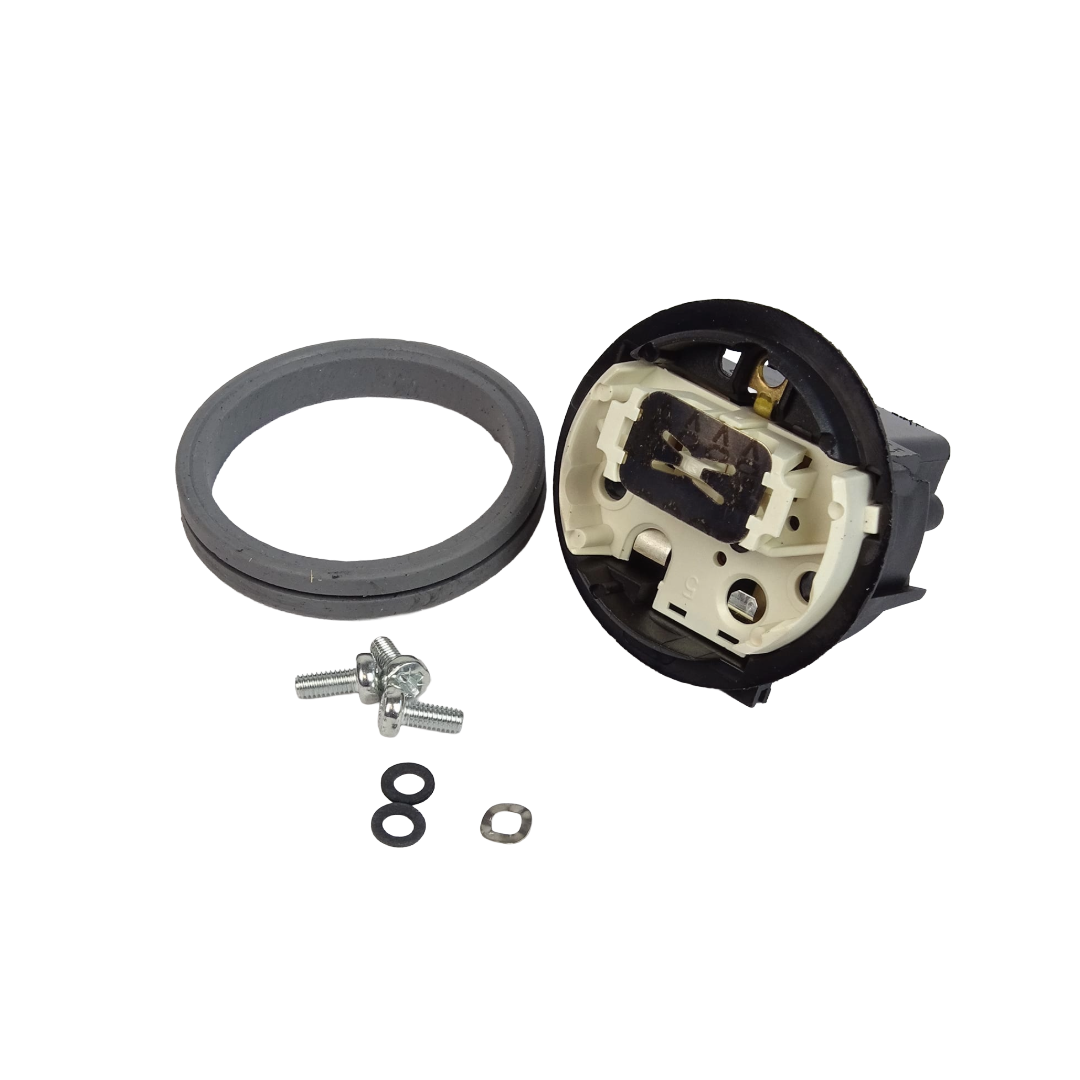
Controller kit for heating element for Mini Classic series. Otter style only. Strix-style is no longer available.
The kit includes the controller, gasket, washers, and screws.
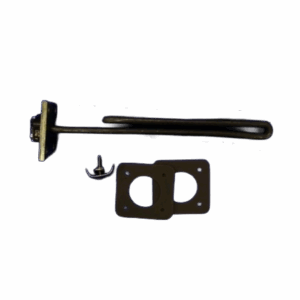
If you have a Strix-style heater and controller, please call our service department (800-875-5915)
1. Remove the boiling tank lid.
2. Remove and discard the 3 screws and washers holding the heating element controller to the heating element.
3. Separate and remove the controller from the element.
4. Remove the silicon gasket from the opening in the boiling tank.
5. Clean the gasket area of any debris, then install the new gasket carefully, making Sure it is threaded so that half of the gasket is outside of the boiling tank and half is inside.
6. Before reinstalling the heating element, make sure to attach the washers to the 3 screws.
7. Place a flat black washer on each of the screw openings. 8. Place the metal washer in the lower opening with the copper tab.
9. Place the heating element in the tank and position it so that 2 screw holes are on the top and one on the bottom.
10. Place the controller over the gasket and heating element, matching the screw holes to the heating element. Note: The flat on the bottom of the controller must be aligned with the bottom of the tank, and the screws must be tightened equally for the heating element and controller to work properly.
11. Insert the bottom screw first. Push the controller against the gasket and tighten the bottom screw, stopping when it just makes contact with the controller. Working clockwise, insert and tighten the other two screws, stopping when slight resistance from compressing the gasket is felt.
12. Finally, tighten the bottom screw again two full turns and stop. Working clockwise again, also tighten the other two screws two full turns and stop.
13. Your boiling tank is now ready for operation.


Reviews
There are no reviews yet.