
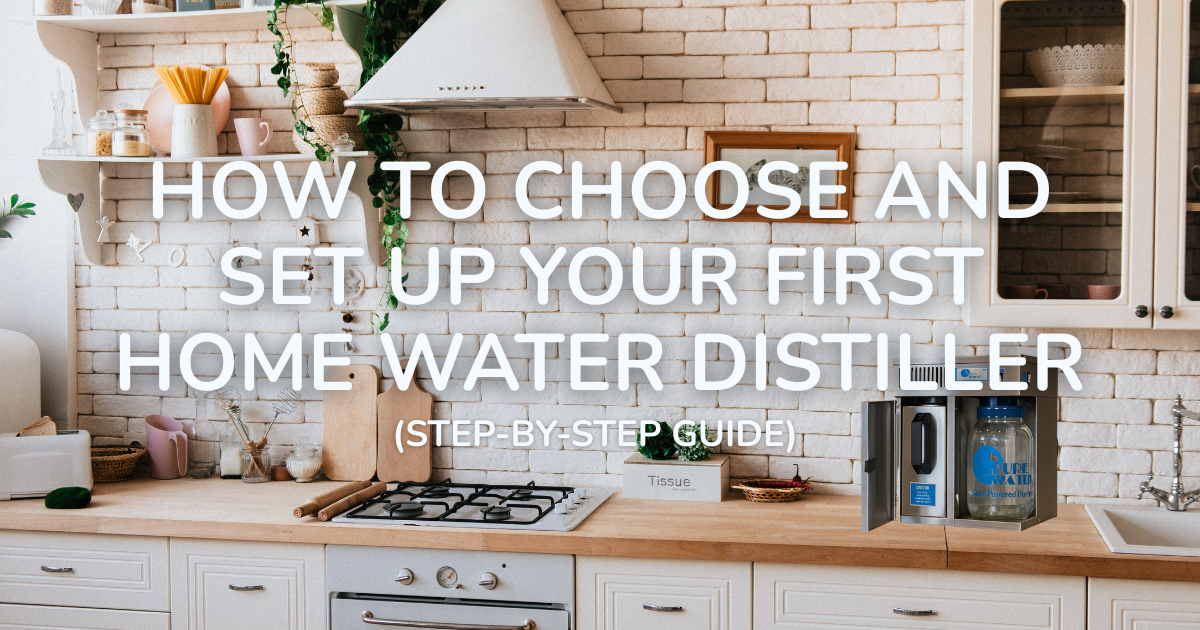
How to Choose and Set Up Your First Home Water Distiller (Step-by-Step Guide)
When you decide to take control of your water quality, you’re making one of the most impactful health and lifestyle choices you can. A Pure Water Distiller replicates the natural hydrologic cycle on earth, giving you water that’s as pure as nature intended. Whether you’re looking to reduce contaminants, minimize maintenance, or enjoy the clean, refreshing taste of truly pure H₂O, this guide will help you choose and set up your first distiller with confidence.
Note: This article is for general educational purposes. Always follow your distiller’s manual and installation instructions. My Pure Water does not make medical claims.
Why Choose Distillation?
Distillation is the cleanest form of water purification—the same process trusted by the U.S. Navy, NASA, Coca-Cola, and countless laboratories. Unlike filters that trap certain contaminants, a Pure Water Distiller boils water, turns it into steam, and condenses it back into liquid, leaving behind dissolved solids, heavy metals, chemicals, and microorganisms. What you get is consistently 99%+ pure water—free from both known and unknown contaminants.

Step 1: Choose the Right Distiller for Your Needs
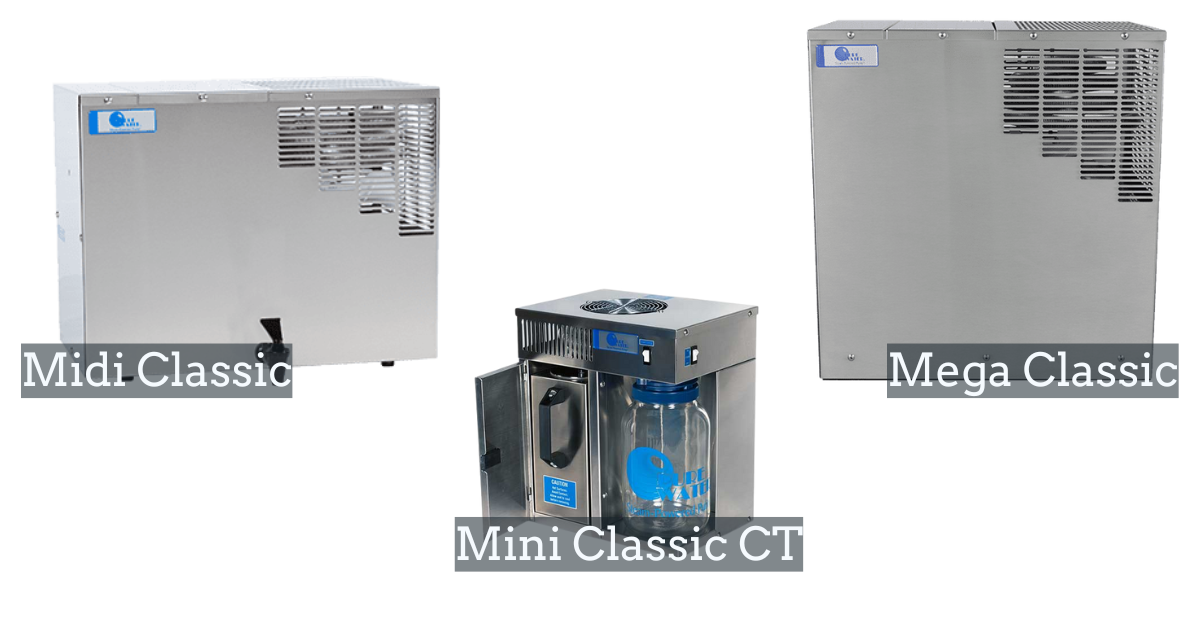
Pure Water offers a range of handcrafted, 304-grade stainless steel distillers made in the USA. The right model depends on how much water you use and how you want to store it.
- Daily Capacity
Ask yourself how much distilled water your household will need each day:
| Household Size | Recommended Daily Output | Suggested Models |
| 1–2 people | 1–2 gallons/day | Mini-Classic CT |
| 3–4 people | 7 gallons/day | Midi-Classic |
| 4+ or large households | 12 gallons/day | Mega Classic |
- Storage and Dispensing Style
You can choose a countertop model like the Mini-Classic CT, which requires no installation and collects distilled water in a glass jar, or a larger automatic system like the Midi or Mega Classic, which stores water in a stainless-steel tank that can be connected to a dedicated faucet or your refrigerator’s ice maker/water dispenser.
If you use distilled water for multiple applications—drinking, cooking, coffee, pets, humidifiers—a tank system will save you time and effort.
- Material Quality
Every Pure Water Distiller is built from premium 304-grade stainless steel, ensuring durability and resistance to corrosion.
- Optional Post-Filter
All Pure Water units use a high-quality activated carbon post-filter to polish the final product. This extra step captures any trace VOCs (volatile organic compounds) that might pass through the condensation process, resulting in clean, crisp-tasting distilled water.
Step 2: Plan the Installation Area
Countertop Model (Mini-Classic CT)
- Place on a sturdy, heat-resistant counter near an outlet.
- Allow 3 inches of space on all sides for ventilation.
- Fill with tap water manually each cycle.
- Collect distilled water in the provided glass jar.
Automatic Systems (Midi Classic & Mega Classic)
- Install in a lower cabinet, utility room, or laundry area.
- Requires a cold-water supply line and drain access.
- The storage tank connects to a dedicated faucet (or optional line to your fridge/ice maker). The Midi can connect to up to 3 lines, the Mega can connect up to 5 lines.
- Ensure the surface is level and stable, with adequate airflow.
Step 3: Set Up Your Pure Water Distiller
Always refer to your specific model’s manual for step-by-step directions. The following overview applies to most Pure Water systems.
- Prepare the Area
Unbox your distiller and inspect all parts. Wipe the surfaces clean, ensure good ventilation, and confirm your outlet matches the power rating.
- Place and Level
Set the distiller on a level surface if you did not purchase a distiller with an optional stand attachment.
- Connect the Water Line (Automatic Models)
Attach the cold-water feed line using the included adapter and shut-off valve. Open the valve slowly and check for leaks.
- Connect the Distilled-Water Line
Attach the distiller output to your post-filter and storage tank. Use the provided food-grade tubing to avoid kinks or sharp bends in the line.
- Electrical Setup
Plug your distiller directly into a grounded outlet. Do not use power strips or extension cords.
- Insert and Flush the Post-Filter
Soak your carbon filter in distilled water taken from your distiller’s first cycle, then install it in the correct flow direction (the arrow).
- First Production Cycle
- Fill the boiling tank to the marked level (Mini-Classic only).
- Run a complete distillation cycle.
- Discard the first batch to remove any potential particles from transport & setup.
You’re now ready to enjoy clean, refreshing distilled water distilled right in your home.
Step 4: Routine Maintenance and Cleaning
Distillation is inherently low-maintenance, but keeping your system clean ensures long-term performance.
After Each Use
- Empty any leftover water from the boiling tank once it has cooled (Manual only).
Monthly
- Use Lumen descaler and cleaner or a white distilled vinegar-water 50/50 mixture to remove scale buildup from inside the boiling chamber.
- Replace your activated carbon post-filter every 3–6 months, depending on use and the distiller model.
- Wipe down stainless-steel surfaces with a soft cloth—no abrasives needed.
Annually
- Inspect the tank, tubing, and fittings for wear or mineral buildup.
- If your distiller is connected to a dedicated faucet, check for smooth flow and flush the line if necessary.
Step 5: Everyday Tips for Distilled Water Use
Additionally, pure distilled water has countless uses around the home, especially during seasonal changes.
- Drinking: Crisp, pure taste with no chemical aftertaste.
- Cooking & Baking: Prevents flavor interference from minerals or chlorine.
- Coffee & Tea: Produces smoother, cleaner flavor—baristas love it.
- Ice Cubes: Crystal-clear ice that won’t cloud drinks.
- Humidifiers & Irons: Reduce white dust and scale buildup.
- Baby Formula: Recommended by most doctors and formula manufacturers.
- CPAP Machines: Helps prevent mineral buildup (follow manufacturer guidance).
Once you have a distiller, you might find yourself reaching for distilled water more often—it simply becomes part of your clean lifestyle.
Step 6: Troubleshooting Basics
| Issue | Possible Cause | Solution |
| Low output | Scale buildup or restricted airflow | Clean the boiling chamber; check ventilation |
| Off taste | Old post-filter or unflushed filter | Replace or flush the carbon filter |
| Leaking connection | Loose tubing or fitting | Reseat tubing fully; tighten gently |
| Unit won’t start | Power issue or thermal cutoff | Check the outlet and reset the safety switch if applicable |
If you ever need help, My Pure Water’s customer service team is based in the U.S. and ready to walk you through solutions.
Step 7: Why Customers Trust Pure Water Distillers


For more than 55 years, Pure Water Distillers have been the industry benchmark for performance, durability, and trust.
Pure Water Distillers are:
- Proudly made in the USA
- Constructed from premium stainless steel
- Designed for decades of service
Pure Water distillers are used worldwide—from homes and hospitals to research labs and humanitarian organizations. However, when you purchase a Pure Water distiller you’re not just buying a machine—you’re investing in a cleaner, safer lifestyle for your family.
Get Started with Distillation
Choosing your first water distiller is a decisive step toward controlling your health and environment. With a Pure Water distiller, you’re producing clean, consistent, contaminant-free water at home—whenever you need it.
Once you’ve set it up, all that’s left is routine cleaning and filter changes. From your first sip, you’ll notice the difference: pure, refreshing, and reassuring.
Finally, if you’re ready to get started, explore our full collection of Pure Water Distillers and experience the purity trusted by families, labs, and professionals around the world.


Leave a Reply