

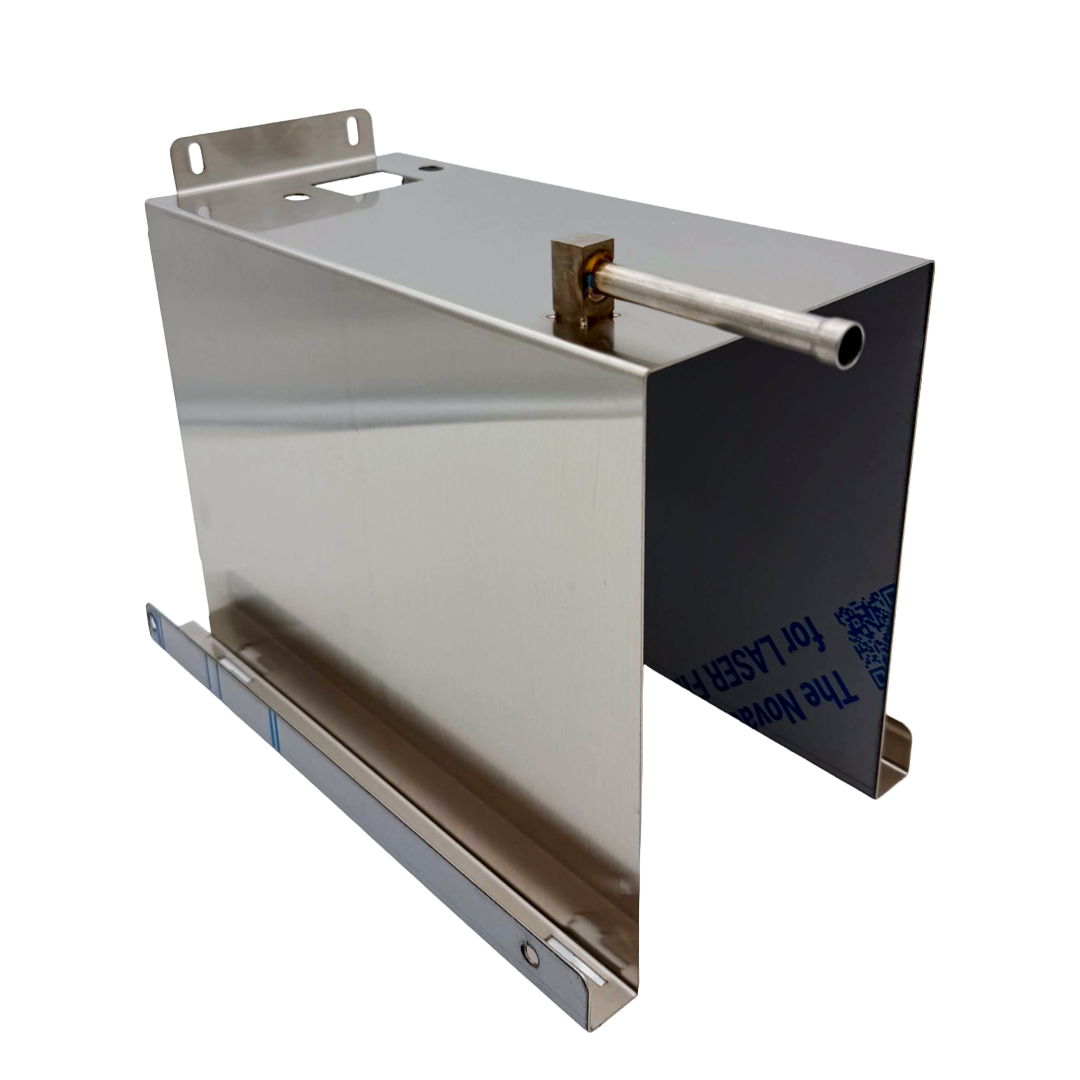
This is the liner for the Mini Classic with steam tube. If your steam tube breaks, you will need a new liner.
1: Remove 5 screws to move the top plate of the distiller and disconnect the wires connecting the fan to the distiller.
2: Snip the zip-ties holding down the condensation coil. Remove the coil.
3: 8 screws to remove the upper housing of the distiller
4: Remove the access plate on the rear of the distiller and disconnect the wires from the contact locator
5: Remove all remaining exposed screws to remove the outer shell of the distiller.
6: Slide the insulation out from around the liner.
7: Remove the screws holding the ground wires and the liner down to the baseplate.
8: Put in a new Liner.
9: reattach Ground wire screws and wires.
10: Slide the insulation back on the liner.
11: Reattach outer shell.
12: REATTACH THE DOOR TO the BOILING CHAMBER NOW
13: Feed the wire connections through the feed hole on the upper housing and replace the screws. DON’T forget the sneaky screw that is on the distilled water outlet side.
14: Replace the coil. You can reattach new zip-ties if desired.
15: Reconnect all the wires in the upper housing. Reconnect the fan wires and put the top plate back on.
16: Take the contact locator plate/plug and attach it to the rear of the boiling tank (This will confirm everything is aligned properly when sliding the tank back into the distiller)
17: Reconnect the locking nuts holding the contact locator in place. Reconnect the wires. Replace the access panel.

Reviews
There are no reviews yet.